Thursday, March 24, 2022

Lori Whitlock Bunny Head Box Tutorial


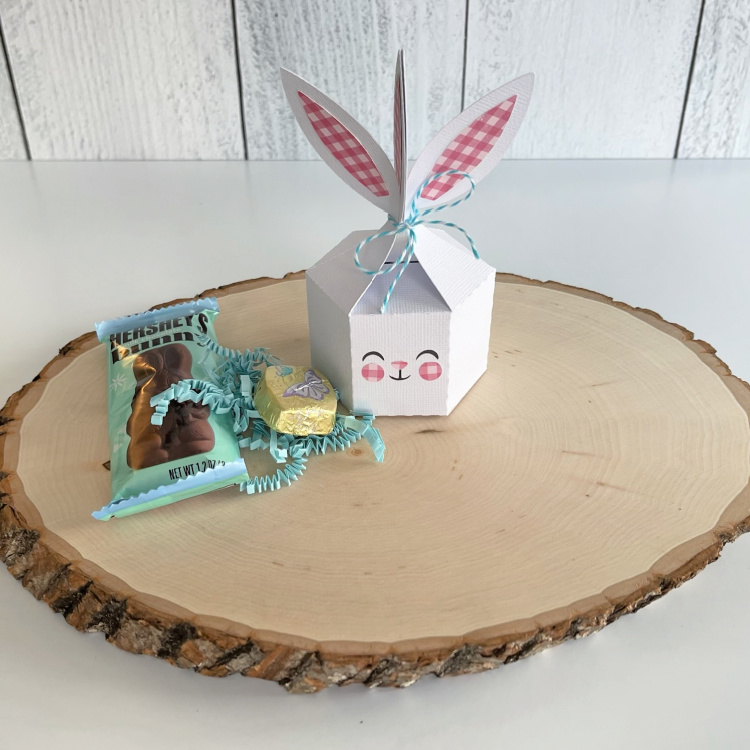
Anita here with a tutorial to make Lori's Bunny Head Box.  You can find the files here (SVG, Silhouette).  I used some of Lori's Echo Park Paper collections for this box including Wish Upon a Star and Celebrate Spring.  I am going to make these to give to each person who comes for Easter dinner.  They will look so cute on my table and will be filled with yummy sweets.

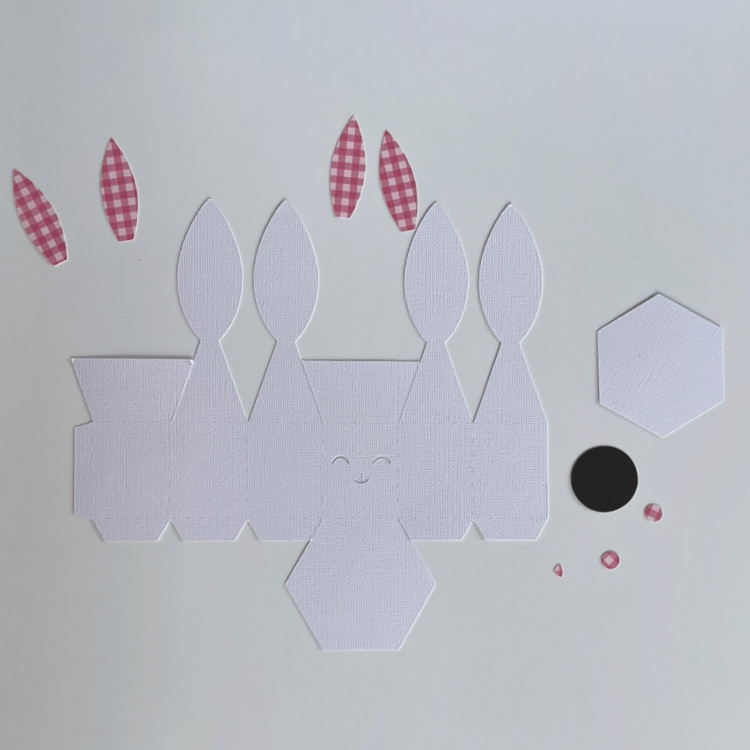
Here is a photo of the pieces that you need to cut out for this box.
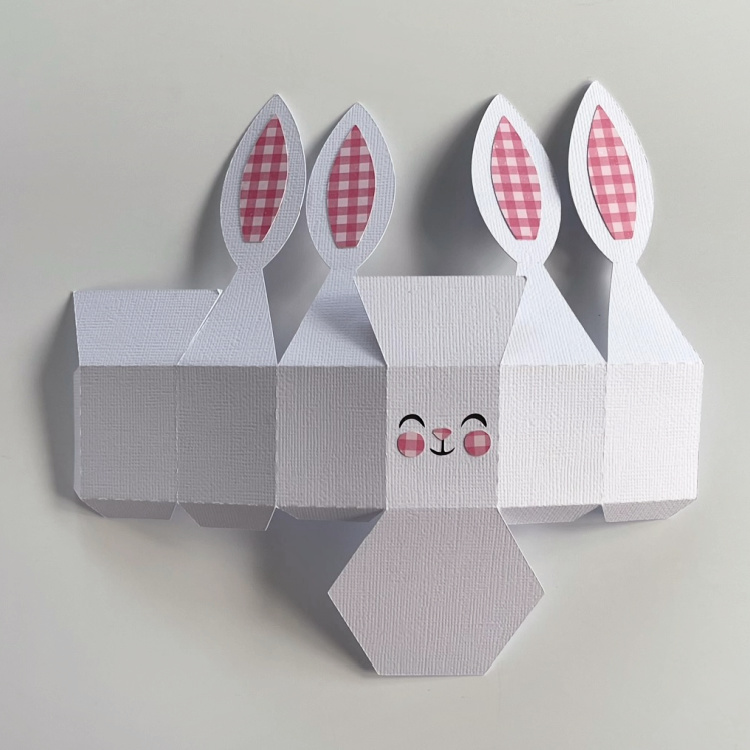
The next photo shows the face and ear pieces glued on as well as the direction the score lines need to be folded.
This photo shows the sides of the box glued together which was the first step in putting the box together.
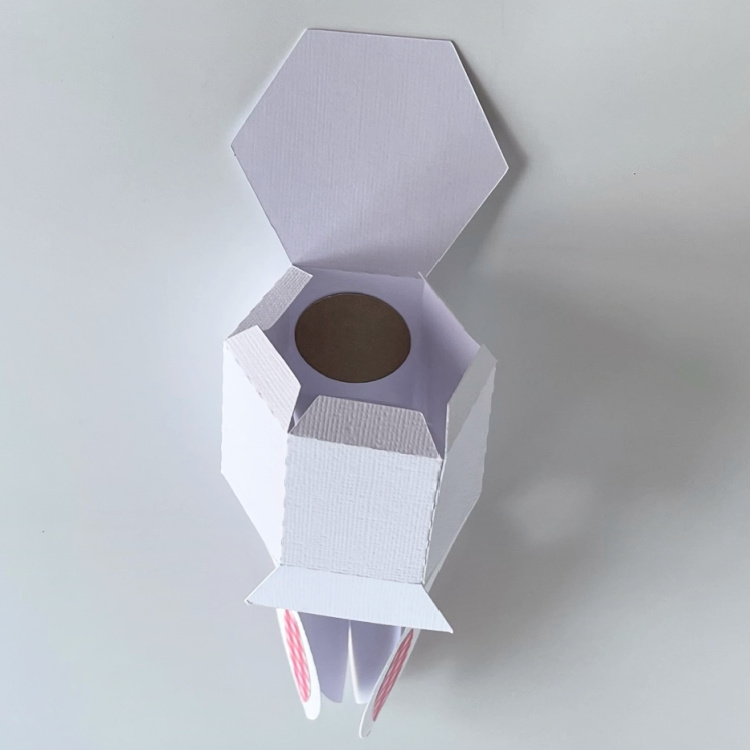
After the sides are glued together the insert hexagon piece gets glued in to cover up the tabs that were visible when you glued the sides to the bottom of the box.
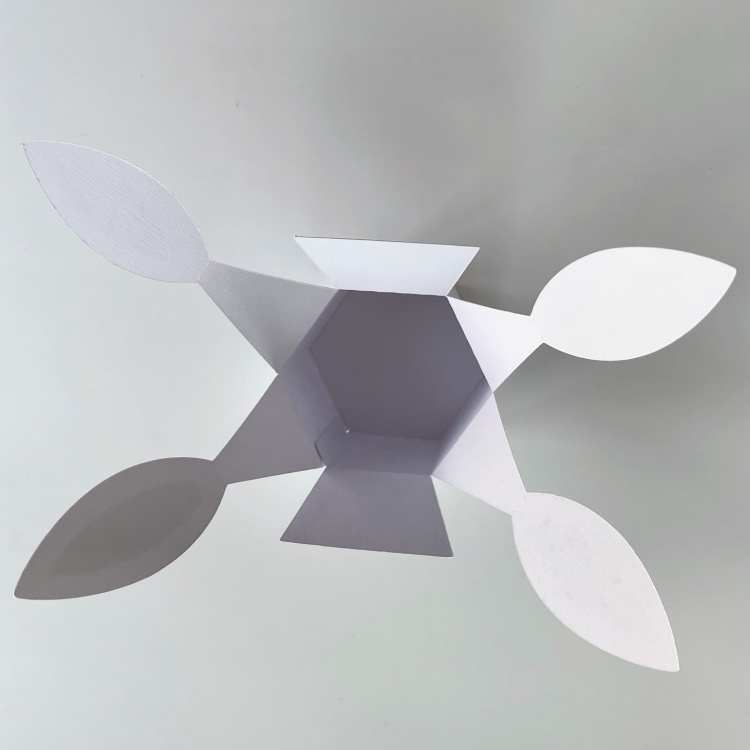
Lastly you can see how cute the box looks with a little Easter grass in it and some chocolate.
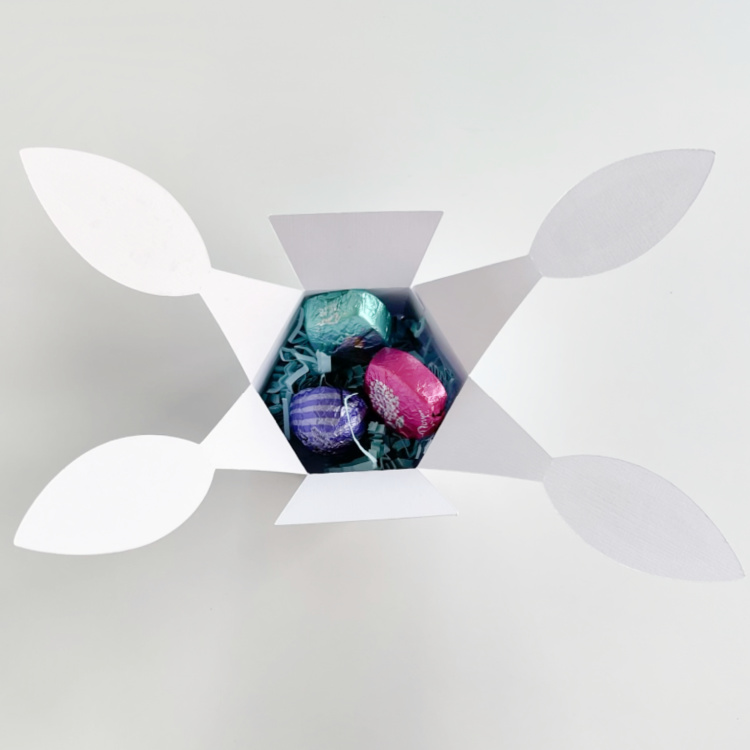
This went together quickly and easily.  Hope that you have a chance to try this one out.  Be sure to look at all of Lori's SVG files for your Spring celebration needs.  That's it for me today.

Hugs,

Tuesday, March 8, 2022

Wiper Card St. Patrick's Boot Lori Whitlock March Creative Team Blog Hop


Welcome to the Lori Whitlock March Creative Team blog hop.  You should have come here from   Kathy’s blog and will next be going to Brandie’s blog. I made Lori's Wiper Card St. Patrick's Boot for this fun card.  You can find the files here (SVG, Silhouette)  Here is a tutorial that Lori made to help you with putting together these amazing cards.  I used some of Lori's new Echo Park Paper collections called Birthday Boy.

Hope that your March is off to a great start.  St. Patrick's Day is always a lot of fun and puts us that much closer to Spring.


Hugs,

Wednesday, March 2, 2022

Pop Up Box Card Birthday Age 60


Hello:

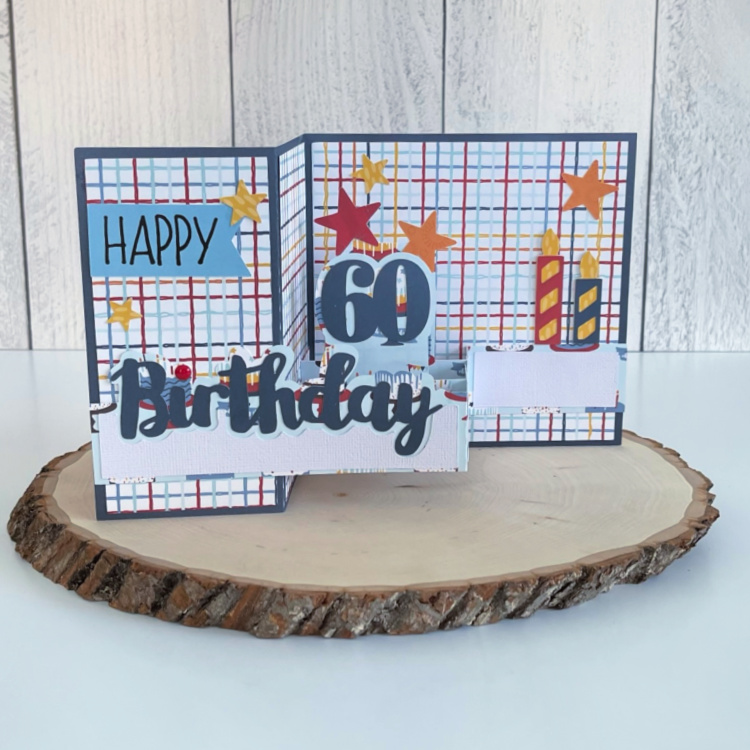
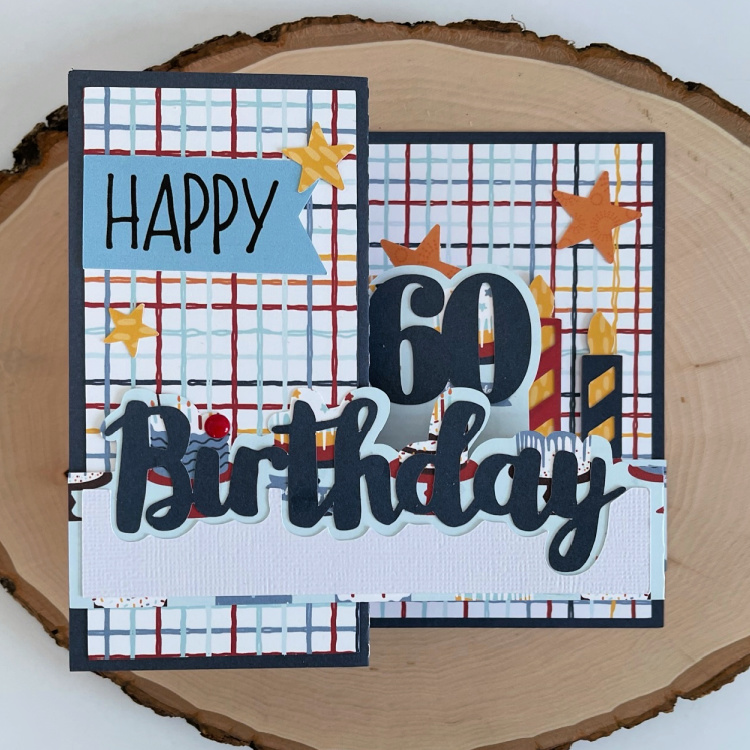
Anita here with a fun card that I made for a good friend who just turned 60.  This card is so easy to put together and really makes a statement.  It is called Pop Up Box Card Birthday and you can find it here (SVG, Silhouette) as well as here you can find Lori's tutorial for putting together her pop up box cards.  I used one of Lori's new Echo Park Paper collections called Birthday Boy.  She has many different ages to choose from for the wonderful card.  Below is the card folded flat for mailing. 

Have a great day.

Hugs, 

Monday, February 21, 2022

Presidents' Day Shaker


Happy Presidents' Day Everyone:

Anita here with a fun shaker to celebrate this holiday.  I used Lori's 4th of July Shaker Star (SVG, Silhouette).  I also used Lori's Echo Park Paper collection called America. I used a layer of foam tape between one of the layers as I like a fuller shaker.

Hope that everyone has a great day and thanks for looking.


Hugs,

Tuesday, February 8, 2022

Lori Whitlock February Creative Team Blog Hop


 Hello Everyone:

Welcome to my stop on the Lori Whitlock February Creative Team blog hop.  You should have come here from Kathy Skou’s blog and will next be going to Ashley Cook 's blog.   I made Lori's Sliding Shadow Box Card Winter (SVG, Silhouette).  I used some of Lori's Echo Park Paper collections including Celebrate Winter and My Favorite Winter.  I hope that you have fun hopping along to see the wonderful creations of my fellow team members.


Hugs,

Thursday, January 27, 2022

Happy Birthday Pop Up Presents Card Tutorial


Hello Everyone:

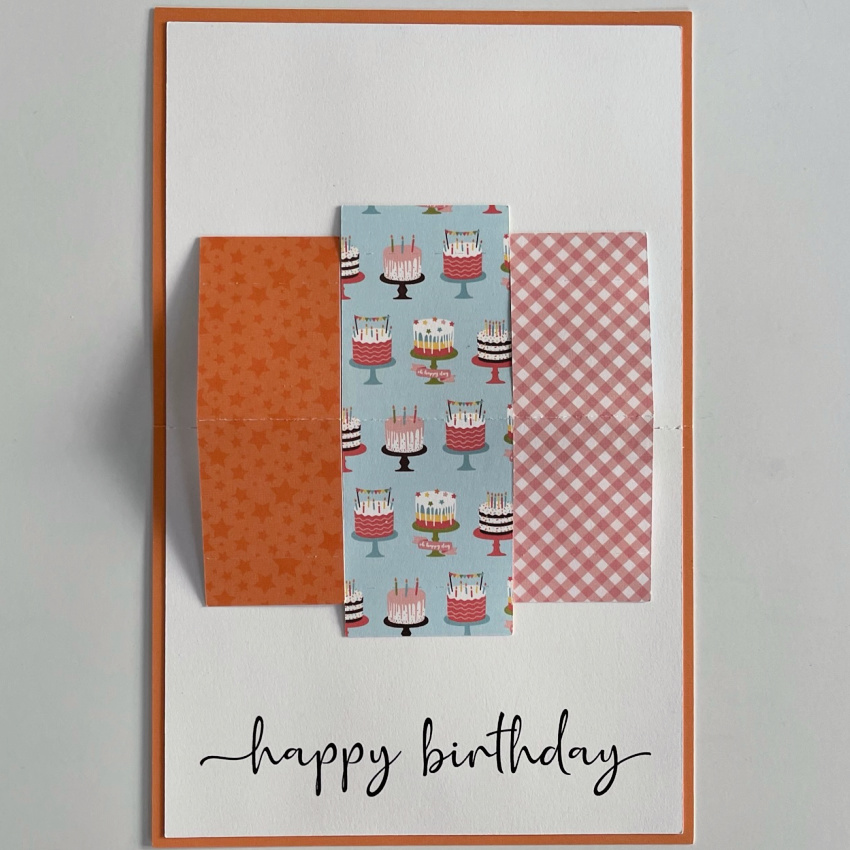
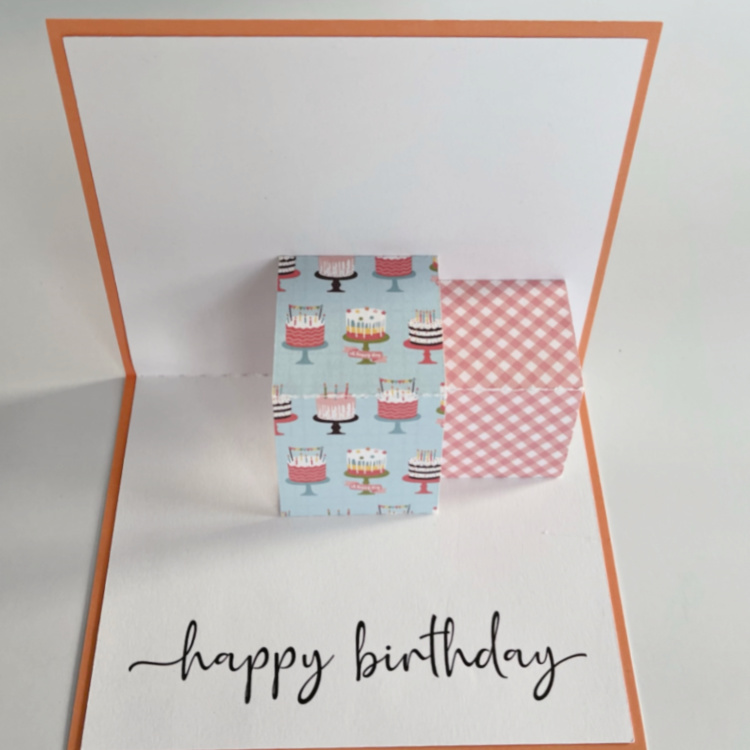
Anita here with a tutorial for assembling Lori's new Happy Birthday Pop Up Presents Card (SVG, Silhouette).  I used one of Lori's new Echo Park Paper lines called Birthday Girl.  This card is so fun and pretty easy to put together.

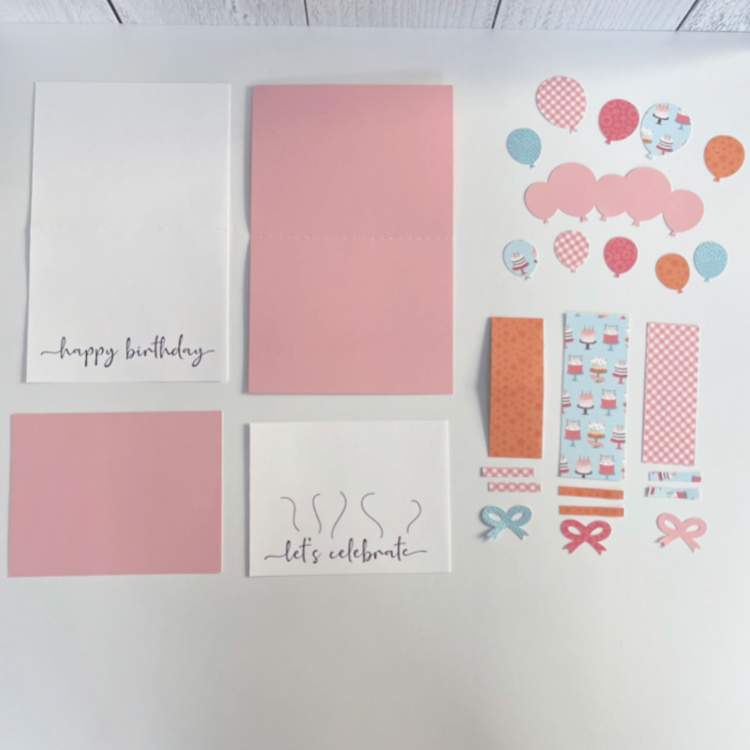
There are two print and cut parts to the this card, the base and the card front as you can see from above as well as all the other parts of the file.

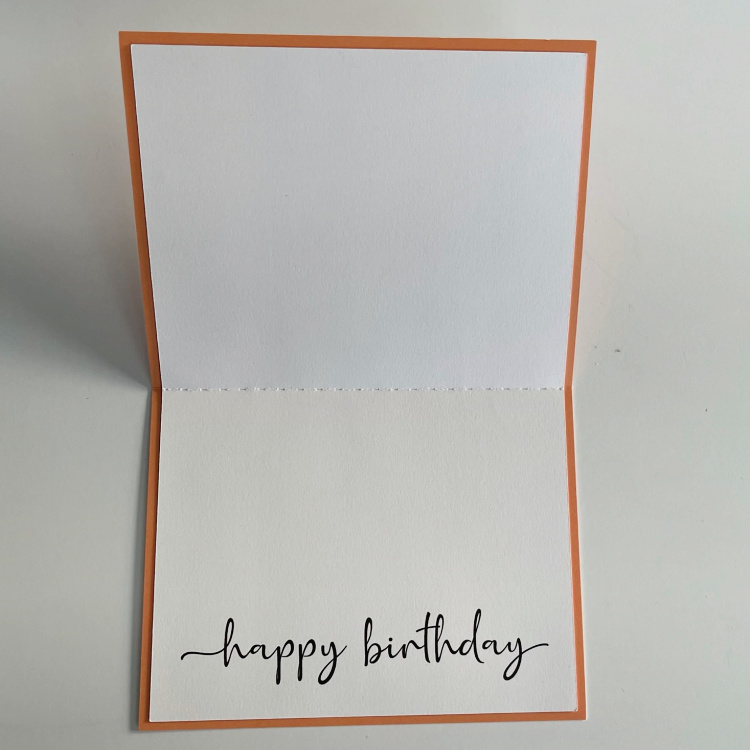
The first thing that you are going to do is glue the inner part of the card to the outer card.  Center the inner card and glue down.

The second thing you are going to want to do is fold your present pieces like this with a mountain fold and the tabs on either end are folded in.

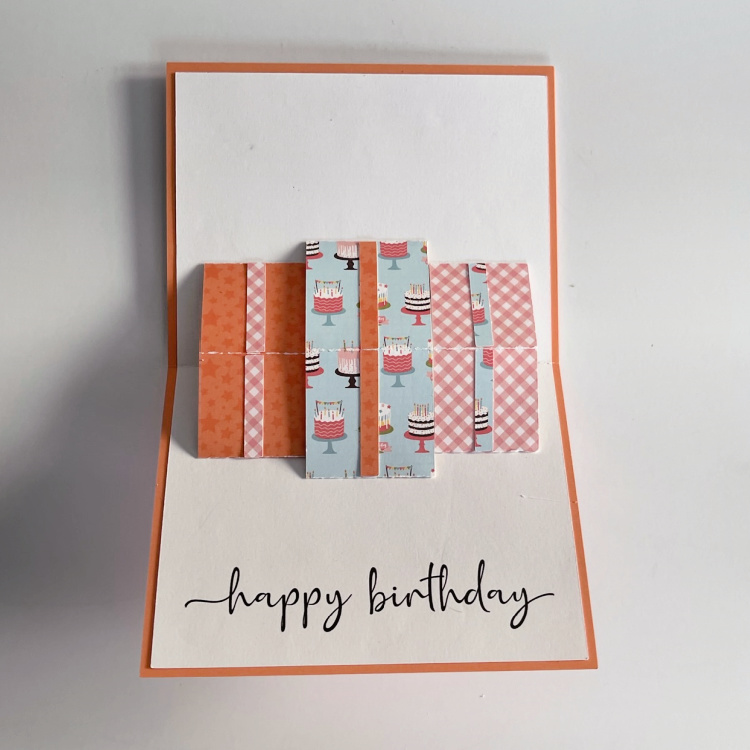
Next I laid out my present pieces and lined up the center score marks on the presents with the center score mark on my card.  I made sure that the presents fit together closely but did not overlap as they won't pop up if you don't.  I counted over two score marks to line up my first present. 

You can see the first present glued into the card here.

Here you can see two of the presents are glued into the card.  I worked on the card when it was open flat and made sure that everything was lined up as I glued each tab onto the card base.

Here is the front view of the two presents glued in so that you can see how close I put them to each other.

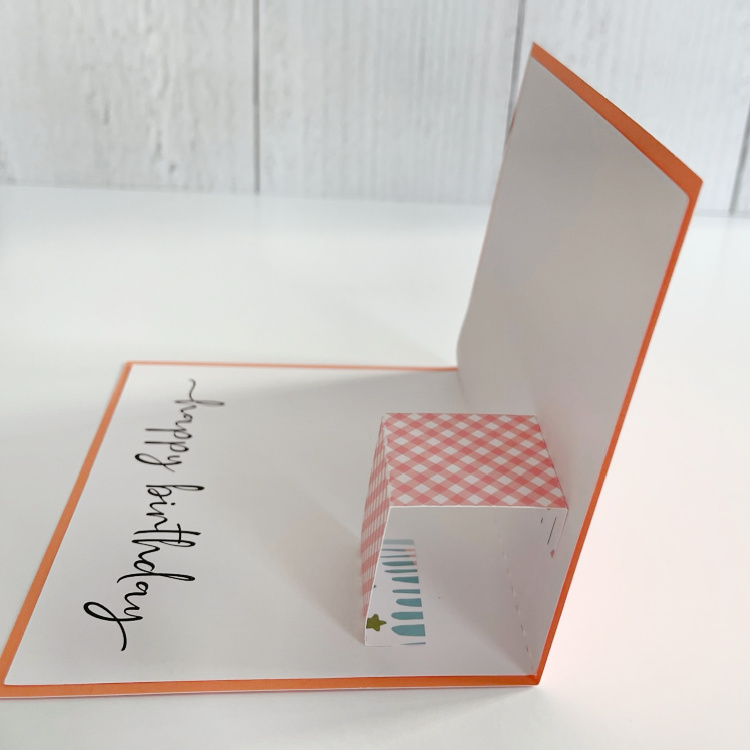
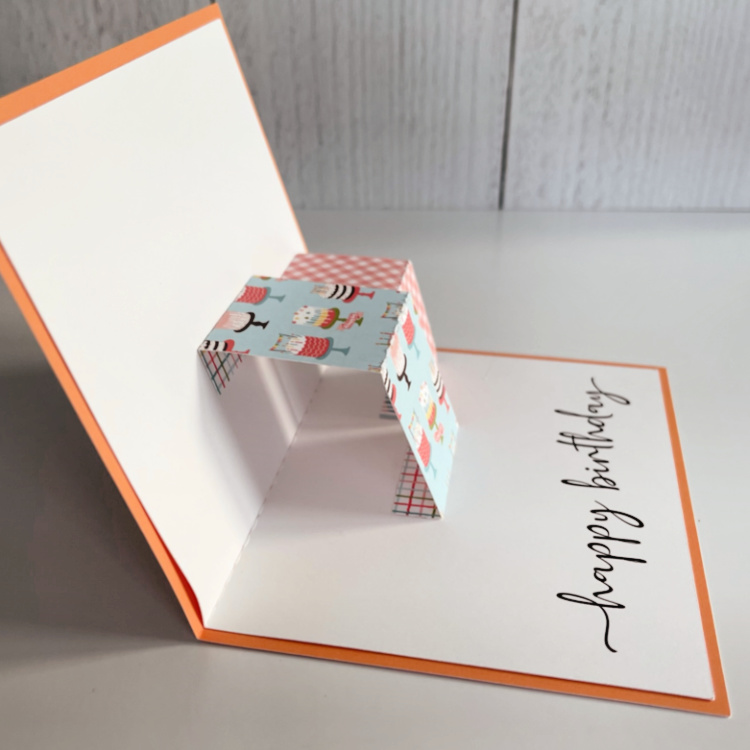
Here is my last photo with all three presents glued into the card and the ribbon paper pieces attached.  Add the balloons to the front of the card and inside the card and you are done.  

That's it for me today.

Hugs,


Wednesday, January 19, 2022

Cherry Pie Valentine Card


Hi Everyone:

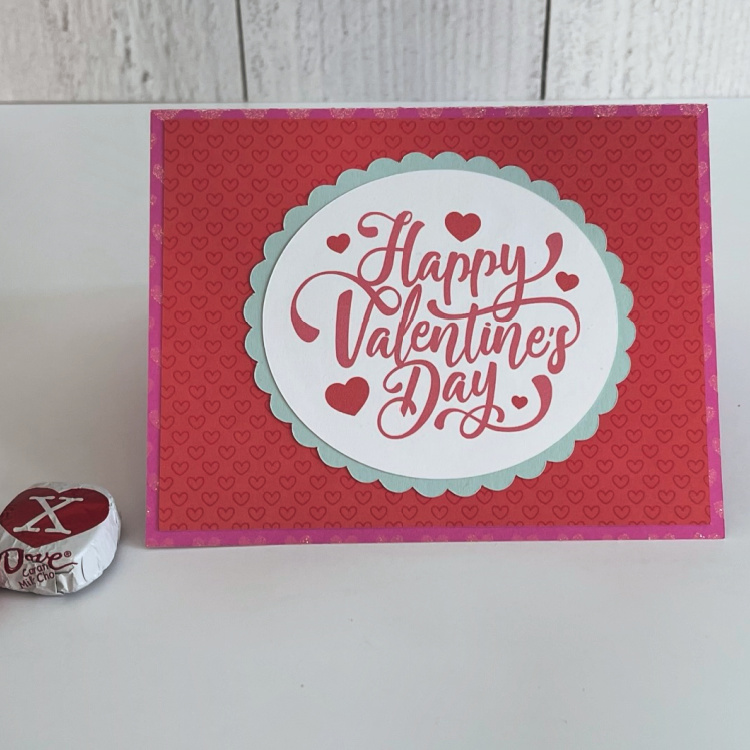
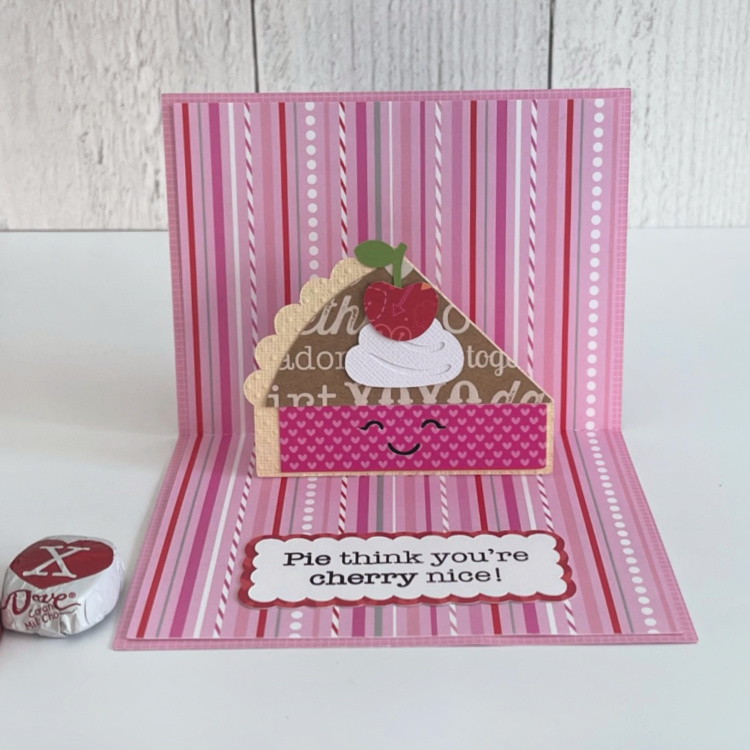
Anita here with an adorable Valentine that I made for my daughter-in-law who loves pie.  It is called Pop Up Card Valentine Pie (SVG, Silhouette).  Lori also has a tutorial which you can find here on how to put together a box card.  I love how easily they go together.  Next to Christmas, Valentine's Day is my favorite holiday.  I love these interactive cards and that you can fold them flat and easily slip them into an envelope for mailing.

Here is a photo of the card opened.

Thanks for looking and have a great day.

Hugs,