Hi:
Anita here with a fun and easy tutorial to make your furry friend a dog bandana. My son and daughter-in-law have three dogs and they like to include them in their Christmas photo. I made some personalized bandanas for my fur grand dogs using some of Lori's fun fonts and heart cut files. I used the Wide Marker font at 288.0 pt which can be found
here in Lori's store and
here in the Silhouette store. The font for Lily's and Sully's bandana is called Wide Marker, and for Scout's bandana I used LW Thick at 288.0 pt which can be found
here in Lori's store and
here in the Silhouette store. The cut file for the hearts is called 4 hearts and can be found
here in Lori's store and
here in the Silhouette store. I found a doggie bandana pattern on the internet from Sew Caroline and the free pattern is
here.
Here are the supplies that I used for Lilly's bandana. You can really use any heat transfer vinyl.
I measured across the part of the bandana where I wanted to put the letters so that I would have a sense of how wide the name could be and fit nicely.

Lori's fonts are so easy to find in your Silhouette font library and they start with the letters LW.
I had fun experimenting with some of Lori's different fonts to see which one I liked the best.
Heat transfer vinyl has a clear plastic sheet which is sticky over the front of the vinyl which allows you to protect the vinyl while ironing it on. You are going to want to place it with the clear/front side down on your mat. You can cut vinyl without a mat but I didn't want to move my rollers so I put it on a mat.

As you can see from above there are many different types of heat transfer vinyl. I chose to use a metallic one so that is what I selected in the cut settings. Notice that the letters are not mirrored on my mat.
Isn't Silhouette so smart? They know I am cutting with vinyl and asked me if I wanted to mirror my design. Given that I was cutting out letters I said send mirrored. I also chose to do two passes as my blade isn't brand new and I was asking it to cut through three layers. I could also have mirrored it before sending it to cut.
Wows, my mat is looking well loved. Here are the letters cut out and the extra vinyl removed. Don't remove the top plastic sheet, you need it on until the letters are ironed down.
Everything is ironed down now. I used a plastic pressing sheet and did not heat it for the 45-60 seconds as they recommend on the package because my iron runs really hot and I didn't want to bubble the vinyl. I usually choose a middle point and put the first letter down there and then add the rest one at a time. I find that things move less that way when ironing. Apply even pressure, not steam and don't move your iron back and forth.
I used Velcro circles on each corner point and stitched them down. I used a seam ripper to gently peel away the top plastic piece. I have also used a pin in the past. If the vinyl starts to pull up then you might have to reheat it. Be careful to not overheat it.
Here is Lily's completed bandana.
Here are all three bandanas. Can't wait to see how the photo turns out.
Hugs,
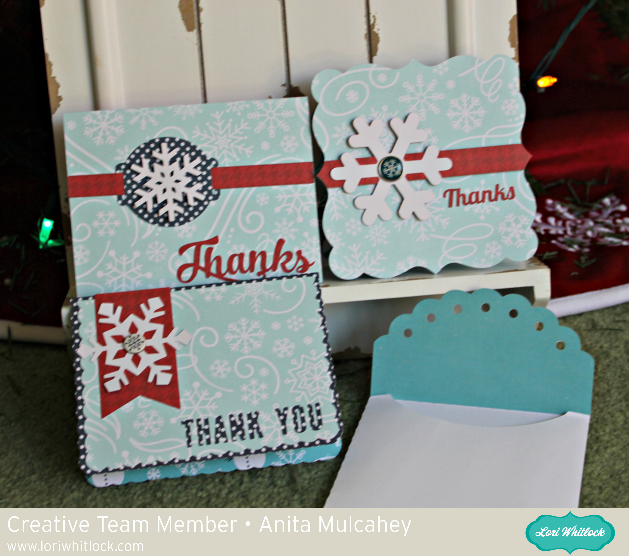
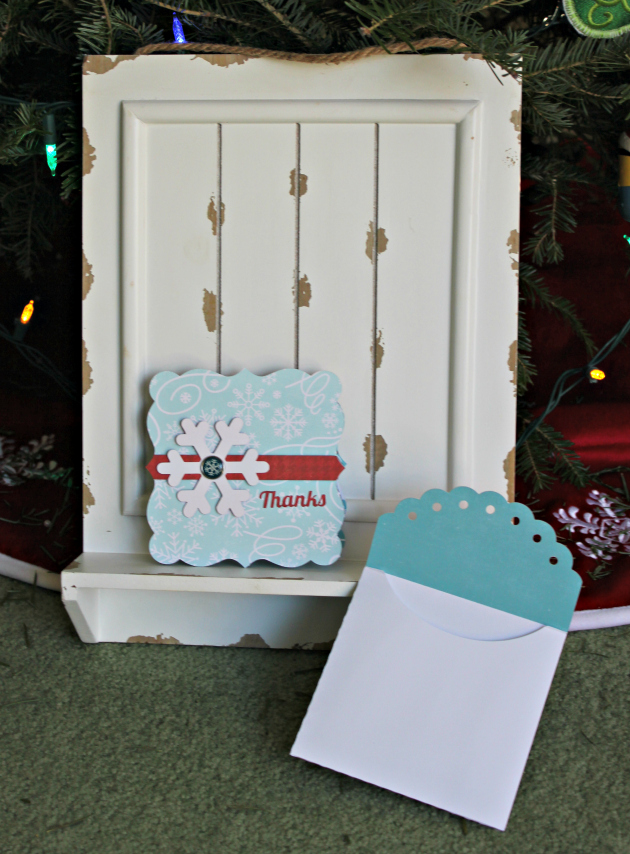
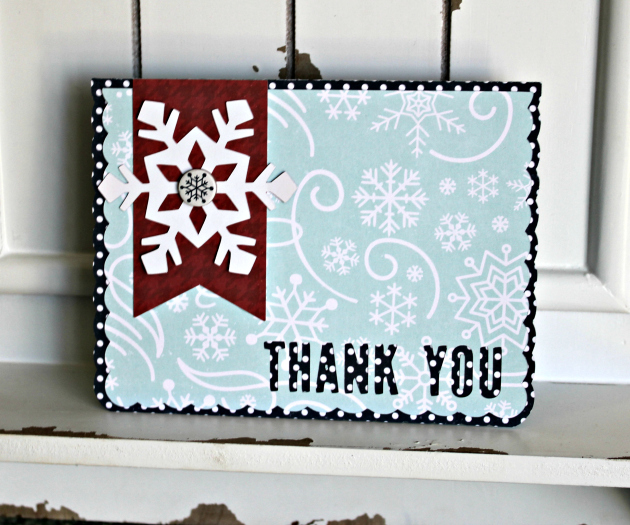
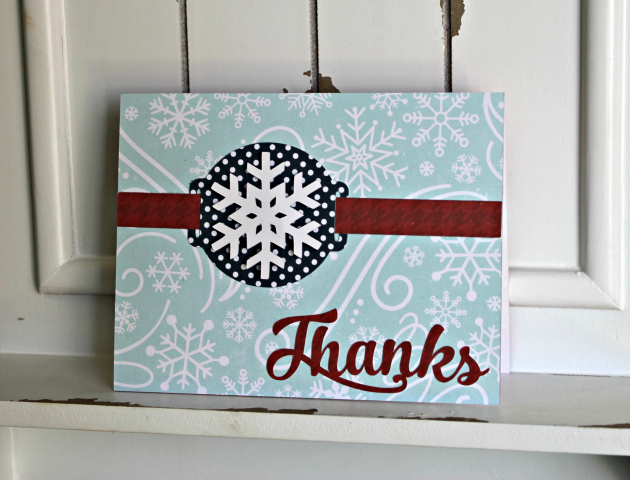
 Anita here with a post holiday thank you card set. I am always touched by the generosity of others during the holiday season and always like to take a moment to thank them for thinking of me. Lori has some wonderful cut files to use for just this purpose. I used one of her Echo Park new collections which is called A Perfect Winter. I just love the patterns and colors and the embellishments are swoon worthy. I used the following cut files to make these cards. I am going to put the names of the files below each card as the names are very similar.
 Snowflake Thank You Card in Lori's Shop In the Silhouette Design Store


 Hi:
Hi:

 Lori's fonts are so easy to find in your Silhouette font library and they start with the letters LW.

 As you can see from above there are many different types of heat transfer vinyl. I chose to use a metallic one so that is what I selected in the cut settings. Notice that the letters are not mirrored on my mat.


