


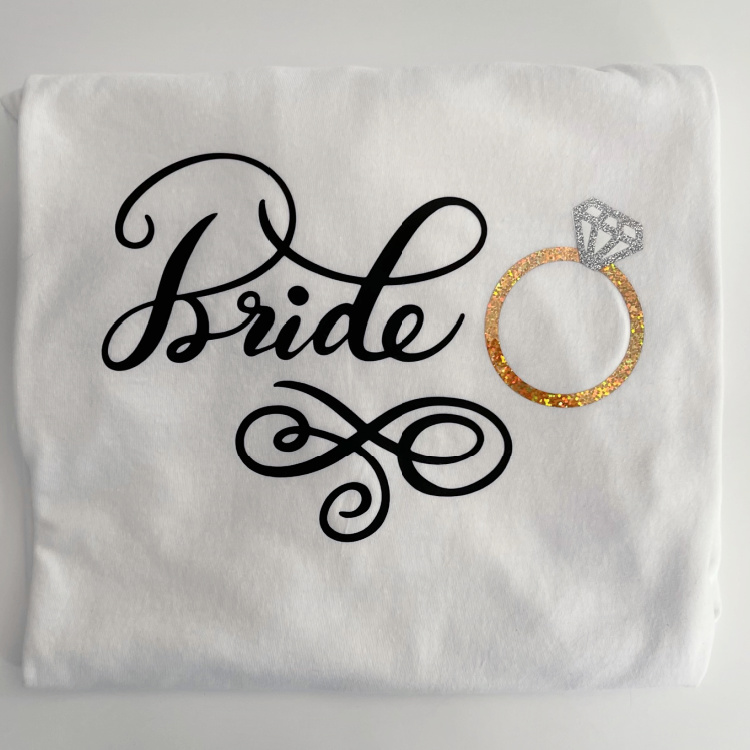
 Anita here with a fun and easy tutorial on how to apply layered iron on heat transfer vinyl to your projects. My daughter got engaged recently and I wanted to make her a fun t shirt to wear. I used Lori's SVG including Hand Lettered Bride and Groom (SVG, Silhouette) and Wedding Rings Card (SVG, Silhouette). I prewashed the shirt first and gave it a good press.
Here are the pieces that I cut out of Vinyl.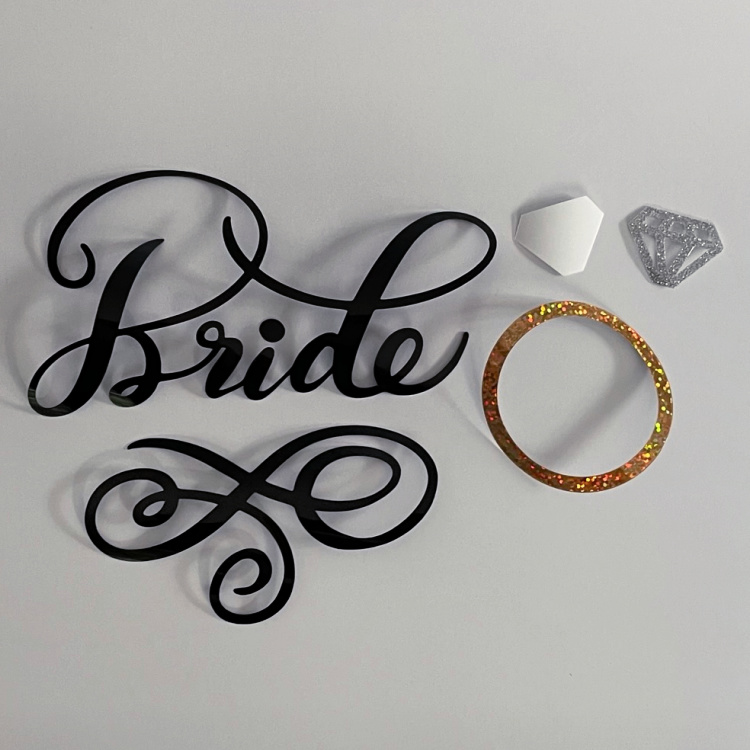
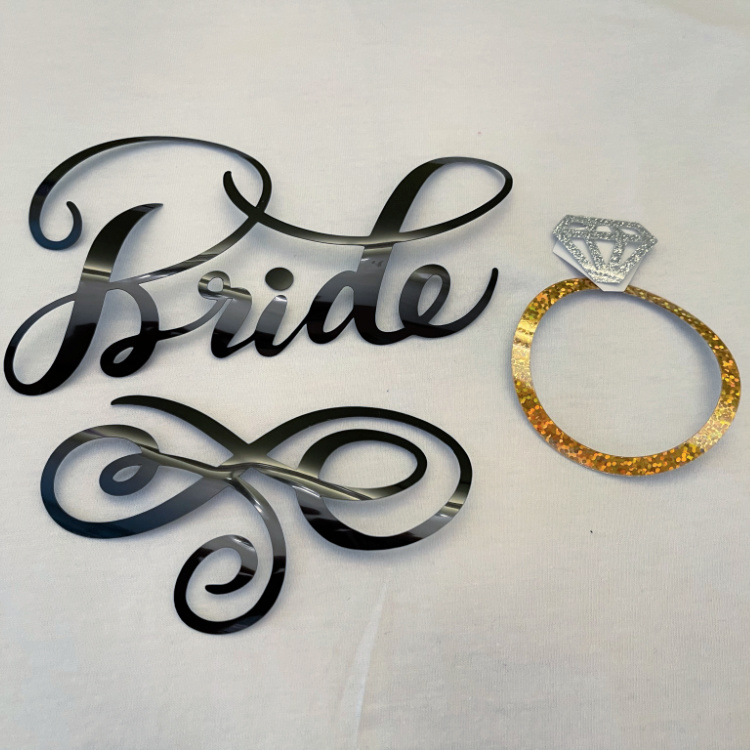
Here are the pieces laid out on the t shirt for placement.
I removed all the pieces from the t shirt except for the gold ring. I lightly pressed that down at 315 degrees for 30 seconds. You have to work from the bottom most design piece and build your way up. I have a Cricut Easy Press and if you don't have one you can use a regular iron. The wool, silk and polyester settings on a standard iron are at around 300 degrees so if using a regular iron I would just increase the time a little bit.
Once the item was cool to the touch, I peeled off the protective plastic over the design. Next, I put on the white layer which is the background for the stone. I again pressed that down at 315 degrees for 30 seconds. I then removed the plastic layer from that piece once it was cool to the touch as well.
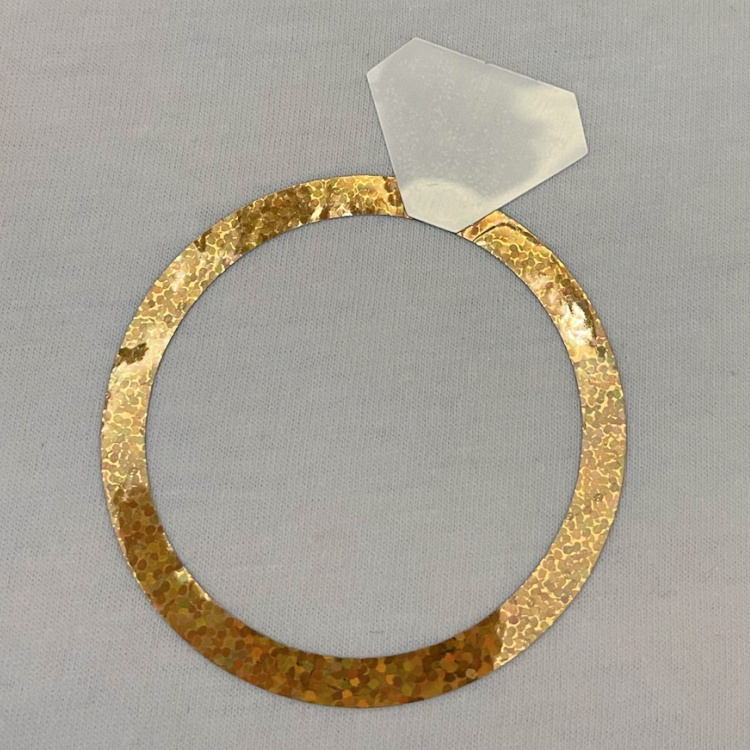 Lastly, I applied the top of the diamond stone and adhered that in the same manner. Once it had cooled to the touch I removed the plastic topping from the stone.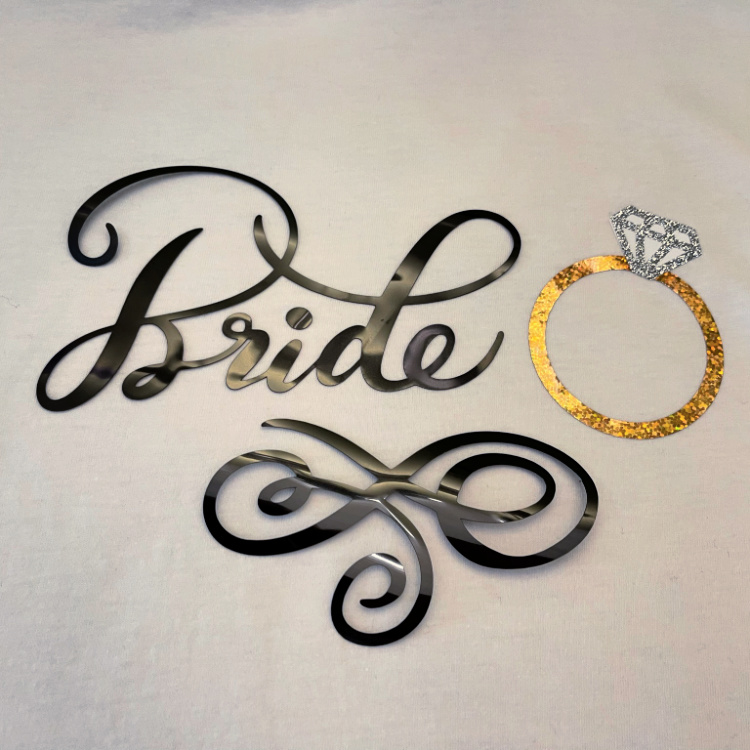
Next, I laid out the bride word and the decorative swirl. I like to put it where I think I want it to be and lightly press one edge to make sure that it did not move when I adhered the last two pieces. I pressed the bride and swirl for 30 seconds at 315 degrees and there was some overlap with the ring and it did not cause any issues. After waiting for it to cool, I peeled the last two plastic protective layers off, flipped the shirt over and pressed the back for 15 seconds.
I find that these t shirts are best cleaned and dried inside out and that they design holds up well. That's it for me today. Have a great day.
Hugs,


 Hi:
Hi:

 Lori's fonts are so easy to find in your Silhouette font library and they start with the letters LW.

 As you can see from above there are many different types of heat transfer vinyl. I chose to use a metallic one so that is what I selected in the cut settings. Notice that the letters are not mirrored on my mat.


