


Anita here with a tutorial for assembling Lori's A2 Grad Cap Card (SVG, Silhouette). I also used a tutorial that one of my fellow Creative Team Members created to make the tassel for my card. You can find Teri's tutorial here. Below are the pieces that you will need to cut out to make this card.

This is the card base and you will be closing the card by gluing on the tabs.
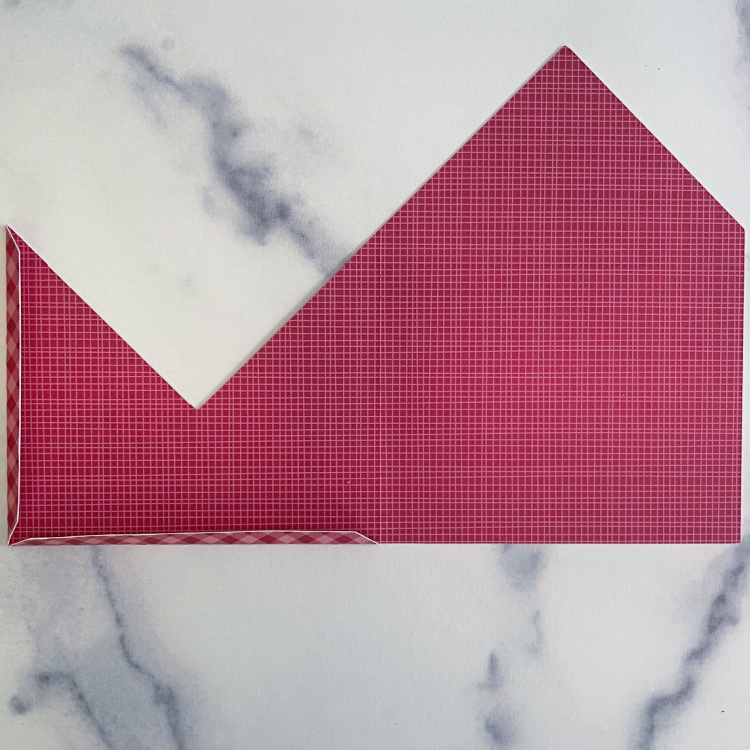
Next, we will fold the inner part of the card that makes the sentiment card base and grad hat shape. You will want to flip your card over and fold across the score lines as shown below.

Flip the card back over with the right side facing up and fold on the diagonal score lines. I did one fold to the left and then the next diagonal score line was folded to the right.


Once you have your card folded it should look like the card below.

I glued the tassel with a wet adhesive to make sure that it would stay in place.


Here is a photo of the pieces of the card pieces together and you are now ready to insert the card base into the envelope pocket.

That's it for me today. Be sure to check out all of Lori's graduation cards.
Hugs,


