.jpg)
Anita here with a fun summer box card that I assembled. It is Lori's Box Card Tropical Suitcase 2 (SVG, Silhouette). I used some of Lori's Echo Park Paper collections including All About a Girl, Day in the Life No. 2 and Our Little Princess.
Here are the steps that I went through to put together this card:
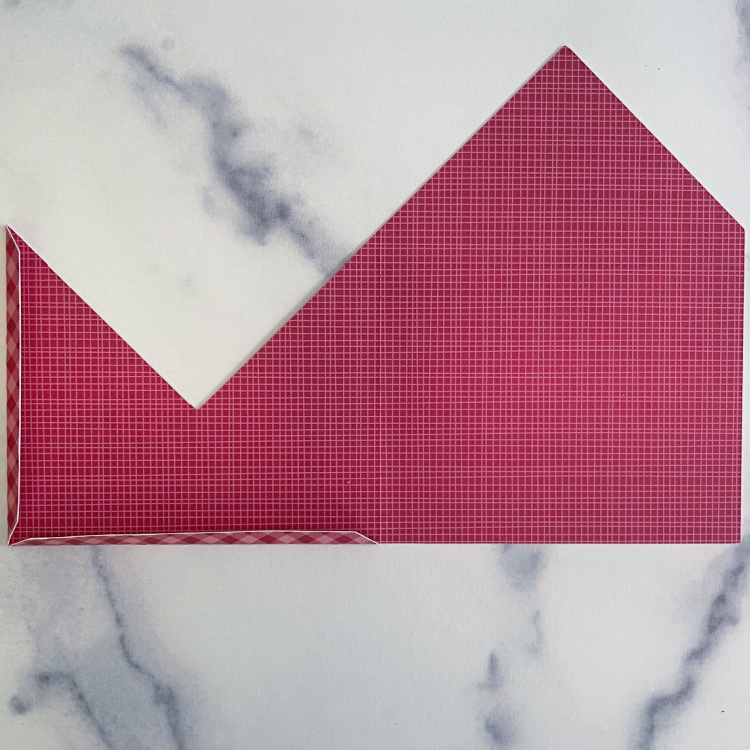
1. Cut out all the pieces.
2. Fold all the score lines on the card base and glue the suitcase together.
3. Glue the backing piece on the suitcase lid. I thought this would be a great place to write a sentiment.
4. Take your piece that is labeled as 1 and fold along the score lines at the edge. Glue the leaves down first and then layer your flowers ending it up with the stamen and set aside.
5. Move on to piece number 2 which is the flamingo. Fold the score lines at the edge and glue the black layer, with the whole flamingo body onto the piece number 2. Then add the darker pink layer which shows up on the birds back and on their face. Finish off your flamingo with the light pink top layer of the bird and the white piece near the beak and set aside.
6. You are now onto the palm tree, piece number 3. Fold the edge score lines and glue down the trunk first and then the palm leaves. I used enamel dots for the coconuts but you can use the coconuts that come with the file.
7. Decorate the outside of your suitcase with the handle and the suitcase edges. Glue down the edge pieces and finish with the dots included in the file or use enamel dots like I did.
6. I like to put the pieces into my card and view them with the card both open and closed to make sure that I am happy with the placement. This top view photos shows where I chose to glue my tabs into the suitcase. I always favor a wet glue when putting these box card together so that the pieces stay where I want them to. You can also glue it in and then close the card and press it on a table to make sure that it adheres well.
Here is the card folded flat and ready to be mailed to someone who is off on an adventure this summer.
That's it for me today. Be sure to check out all of Lori's fun summer cards.
Hugs,


.jpg)


.jpg)


.jpg)