Showing posts with label tutorial. Show all posts

Thursday, May 18, 2023

Grad Cap Card Tutorial


Anita here with a tutorial for assembling Lori's A2 Grad Cap Card (SVGSilhouette).  I also used a tutorial that one of my fellow Creative Team Members created to make the tassel for my card.  You can find Teri's tutorial here.  Below are the pieces that you will need to cut out to make this card.

This is the card base and you will be closing the card by gluing on the tabs.
Next, we will fold the inner part of the card that makes the sentiment card base and grad hat shape.  You will want to flip your card over and fold across the score lines as shown below.
Flip the card back over with the right side facing up and fold on the diagonal score lines.  I did one fold to the left and then the next diagonal score line was folded to the right.

Once you have your card folded it should look like the card below.
I glued the tassel with a wet adhesive to make sure that it would stay in place.
Here is what the card insert looks like with the grad cap topper on the base and a brad through the holes.


Here is a photo of the pieces of the card pieces together and you are now ready to insert the card base into the envelope pocket.
That's it for me today.  Be sure to check out all of Lori's graduation cards.
Hugs,


Thursday, April 6, 2023

Box Card Easter Bunny Carrot Card Tutorial


Hi Everyone:

Anita here with a tutorial on assembling Lori's Box Card Easter Bunny Carrot card (SVGSilhouette).  My grandson loves everything to do with cars and trucks and I thought that he would love this card for Easter.  Lori has so many fabulous designs, be sure to check them out for your spring card needs.

Here are the pieces for this fun, interactive card.

Glue the pieces that go together and set them aside for now.

Here is the box glued together and the bunny glued inside it.  When making these cards I always fold them closed to make sure that things are lining up like I want them to.

Here is a top view where you can see where the bunny center piece was placed within the car body.

Here is the back of the card.  I love the way Lori has the sentiment and room for me to write my grandson a message.

Here is the card folded flat and ready for mailing.

That's it for me today.  I hope that you have  a wonderful spring weekend this weekend.  Happy Easter for those that celebrate it.

Hugs,


Thursday, March 30, 2023

Carrot Favor Box Tutorial

 Anita here with a tutorial on Lori's Carrot Favor Box.  I made this for my niece who is away at college.  I filled the boxes with jelly beans and M&M's.  You can find the file here (SVGSilhouette).
Here are the pieces that come with this file:


This shows the items folded on their score lines.

I decided to use a paper crimper to crimp my grass the give it some more fluff in my crate.

This shows the grass in the crate.

This last photo shows all of the items separately before I put them together into the crate.


Such a fun and easy project and I now that she will enjoy opening her carrots up to see what treats are inside for me.  Have a great day.
Hugs,

Thursday, February 9, 2023

Adhering a Vinyl SVG to a Travel Mug


Happy Thursday Everyone:

Anita here with a tutorial on the application of vinyl to a travel mug.  I wanted to make this for one of my friend's for Valentine's Day as one of her true loves is coffee.  I used Lori's SVG called I Only Need Coffee on Days with "Y" (SVGSilhouette).  I used some Cricut silver matte vinyl for my project.  I selected matte vinyl for my cutting surface.  You do not need to mirror the design when using regular vinyl on a project.
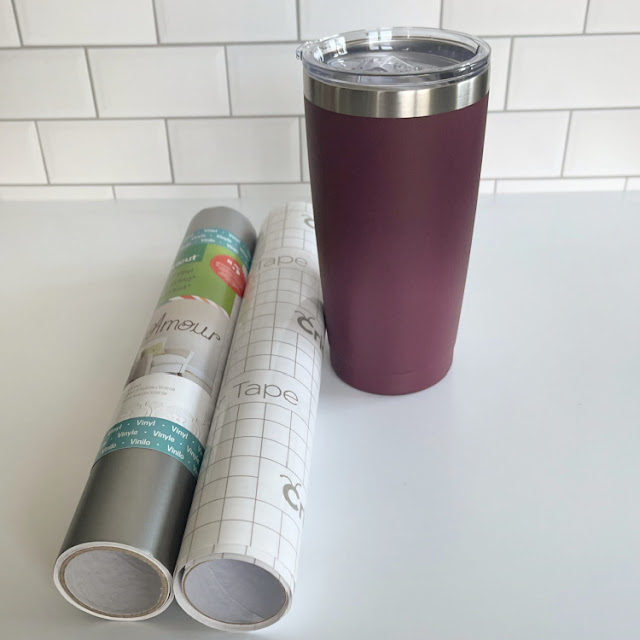
Here are the materials that I used for my project.  You will want to pick up some transfer tape if you don't have any as it makes these vinyl projects so much easier.
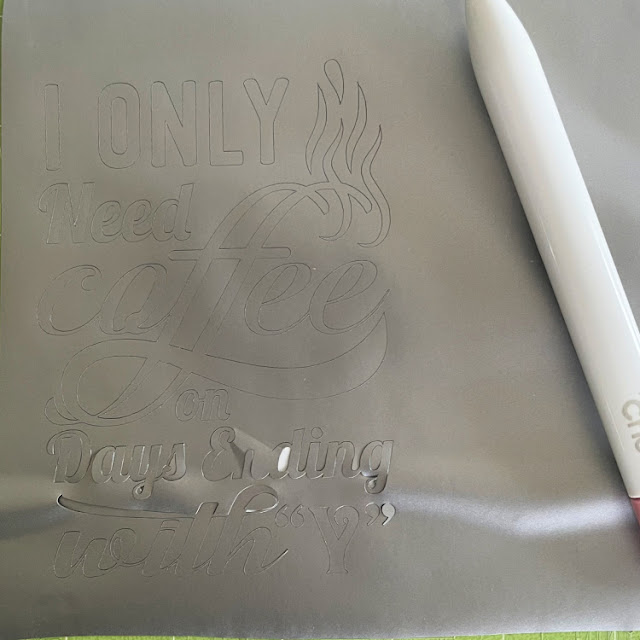
Here is the design cut out and that is my weeding tool from Cricut which is next to the design.  It has a hook on the end which makes fishing out those tiny little pieces so easy.  You can use a pin and I have used a seam ripper in the past too.  You are going to want to remove all of the pieces of design that you don't need to be there.  I started in one corner and slowly peeled the excess away from my design.  If there are fine elements to your design you might need to hold onto the design with one hand as you pull the excess away so that your design doesn't tear.
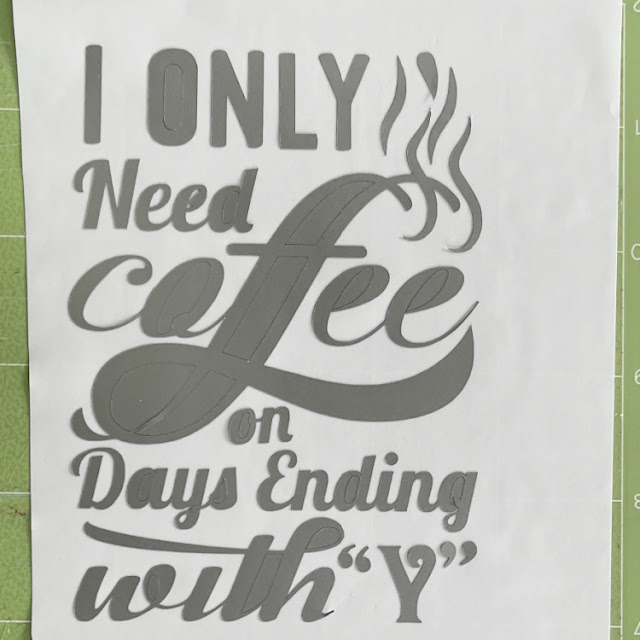
Here is what my design looked like after I peeled away all of the excess piece which came off in one piece,  Next, I needed to go in and grab those extra little bits to help define my design more.  I used my weeding tool for this.  You can use a pin as well.
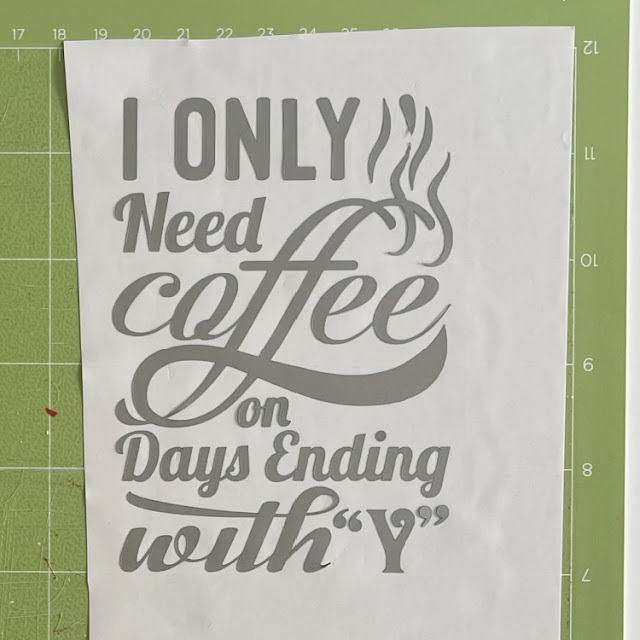
My design is now all weeded and ready for the transfer tape to be applied directly on top of the design.  I cut a piece of transfer tape a little larger 1/2" or so around your design.  Then I peeled off the white piece on the transfer paper leaving the sticky side exposed and then stuck that down on top of my design.  I leave my design on my mat through these steps as it is easier to work with.  At this point you need to burnish the transfer tape onto your design.  Essentially you want the tape to pick up just the vinyl from the backing paper so that you can adhere it directly to your mug and see exactly where it is going to go.  I used my Cricut scraper that I bought but you can certainly use a popsicle stick for this step.  Check to see if you have been successful in getting the vinyl to adhere to the transfer tape.  If not, continue to burnish until it all comes off the backing paper.
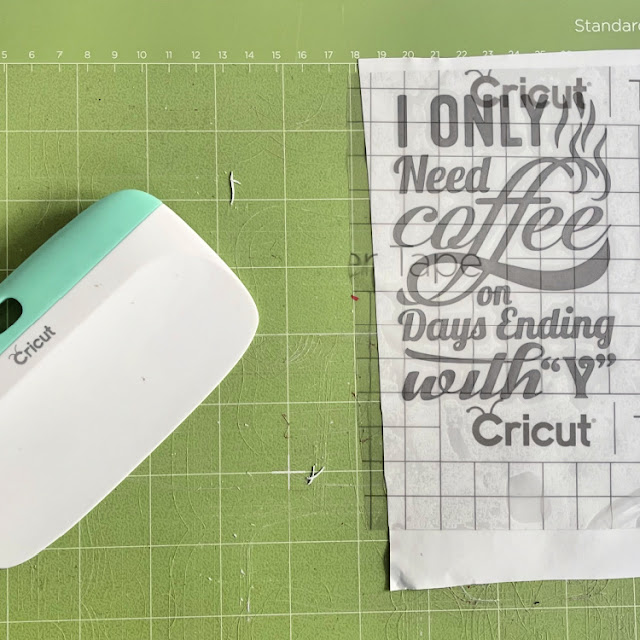
This photo shows the transfer tape on and the tool that I used to burnish the vinyl onto the transfer tape. And my well love mat, lol.

Lastly, I placed my transfer tape onto the mug.  I started carefully at one edge laying it on and let it gently fall where it wanted to given that the cup is rounded.  I then used my fingers to smooth out the transfer tape.  One I was happy with the placement, it was time to again burnish the design to get it to adhere to the cup.  It came out great and I'm sure that she will love it.

Thanks for looking and have a great day.

Hugs,

Anita

Thursday, January 26, 2023

Altering a Candy Box to fit a larger candy bar


Hello Everyone:
Anita here with a quick tutorial on taking one of Lori's Candy Box SVG's and resizing them to fit the candy bar size that I need.  I used Candy Box 6 Candies (SVGSilhouette).  I used Lori's two Echo Park Paper collections including Our Little Princess and All About a Girl.  
I wanted to make my own chocolate bars for Valentine's Day given that there are food allergies in our family and wanted a pretty box to put them in.  I picked this box as it seemed like it would fit the candy bar mold that I have.  This file comes in two parts, Part 2 is for the box and part 1 is for the scalloped inserts.  I used Part 2.  When I imported my file into Silhouette Studio I used the grid lines on my mat on the screen to determine the size of the unaltered file.  I knew what size I needed to fit my candy bar and with the file still grouped together I dragged the corner until the dimensions were what I needed them to be.  Be sure that you don't ungroup them before doing the resizing.  As you can see from the photo above I did a pretty good job of getting my box to fit my candy bar.  

These are the cut file pieces for my box.  I opted to use the decorate overlay around the inner edge but you wouldn't have to if you were short on time.  I also often put an acrylic sheet over the opening when making boxes but decided that the chocolate bar looked better with the hole open.

These are the box pieces assembled and ready for my chocolate bar. That's it for me.  Be sure to check out all of Lori's Valentine's Day files.
Hugs,

Monday, December 19, 2022

Double Sliding Card Thank You

 Hello Everyone:

Anita here with a fun Holiday Thank You card.  I am always so appreciative of being thought of at this time of year and Lori has this great Double Sliding Card Thank You (SVG, Silhouette) which I assembled to send out to a special couple of people.  I used one of Lori's Echo Park Paper collections called Christmas Magic.  Lori also has a tutorial to put together this card which you can find here, Tutorial part 1 & 2.

Thanks for looking and have a great day.

Hugs,

Thursday, November 17, 2022

Pumpkin Pie Tutorial


Hi Everyone:
I can't believe that it is the week before Thanksgiving.  I am here with a tutorial to show how I assembled Lori's 3D Pumpkin.  I'm going to fill them with chocolates and put my pie on the dessert table on Thanksgiving.  I used Lori's 3D Pumpkin Pie Box file (SVGSilhouette).  I used some of Lori's Echo Park Paper collections including:  A Slice of Summer, Let's Go Anywhere, All About a Girl and  Halloween Party.  This file is part of the November Kit of the Month in Lori's SVG shop.  It's a great bundle, be sure to check it out, Lori's Shop 

Here are the pieces that I cut out for the pie.  If you want to make a full pie, you will need to cut out the pieces for 8 slices.  The file tells you how many to cut out.  I used some acetate for the hearts on the pumpkin pie box and some white and cream hearts for the other types of pie.I glued the acetate or solid color heart onto the box top before I put it together.This photo shows the three box pieces ready for the pie crust to be glued onto the end of the pie.Here is a side view of the pumpkin pie box assembled and ready for treats.

I like pumpkin pie but also like other kinds as well.  I decided to make blueberry, cherry, lemon and chocolate cream slices as well.  The sky is the limit for what kind of pie you want to make.  

Hugs,

Thursday, July 14, 2022

Layered Heat Transfer Vinyl Tutorial

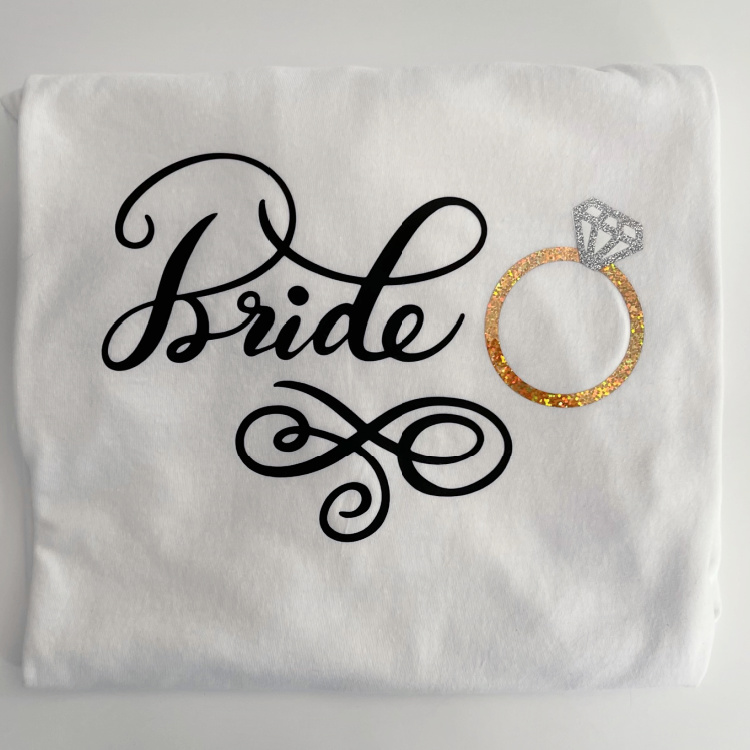
  Anita here with a fun and easy tutorial on how to apply layered iron on heat transfer vinyl to your projects.  My daughter got engaged recently and I wanted to make her a fun t shirt to wear.  I used Lori's SVG including Hand Lettered Bride and Groom (SVG, Silhouette) and Wedding Rings Card (SVG, Silhouette).  I prewashed the shirt first and gave it a good press.

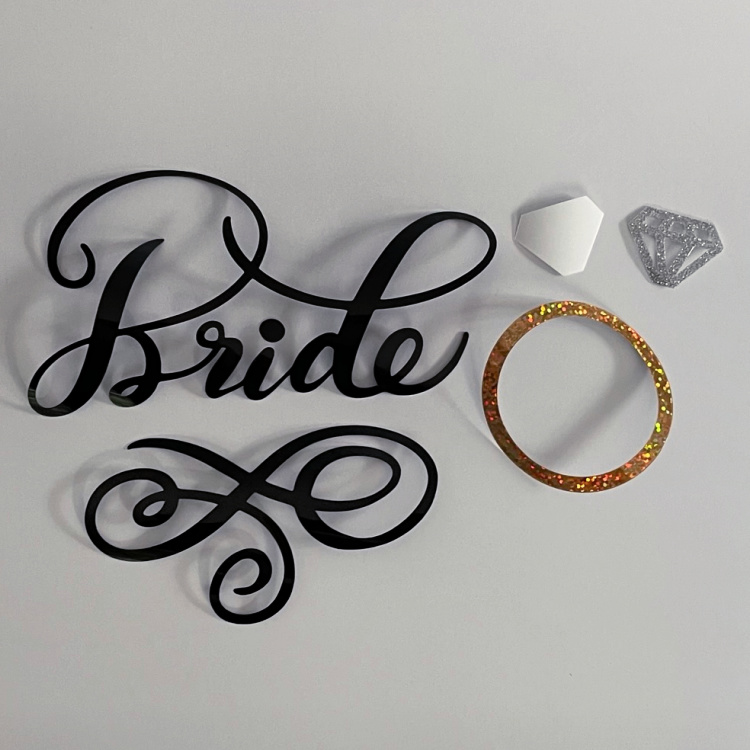
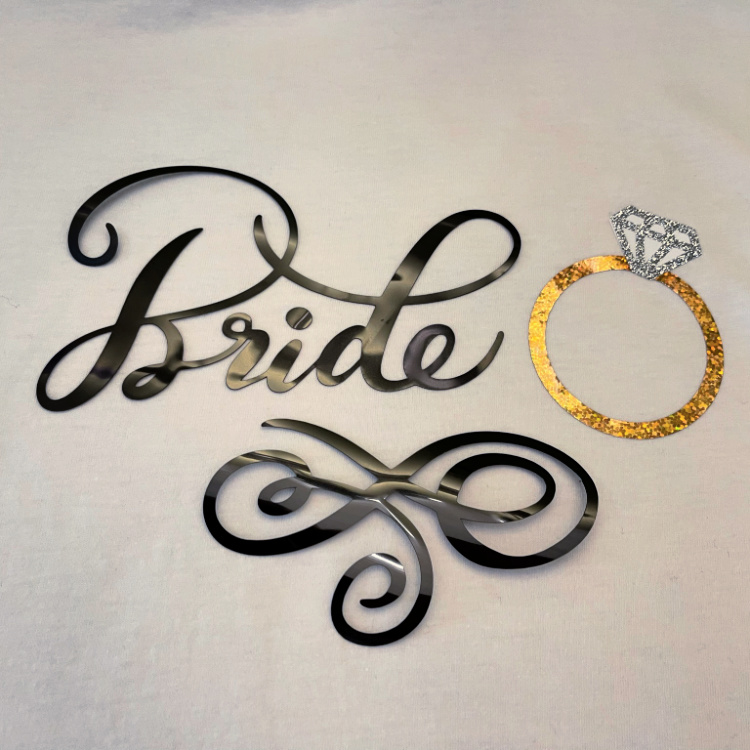
Here are the pieces that I cut out of Vinyl.

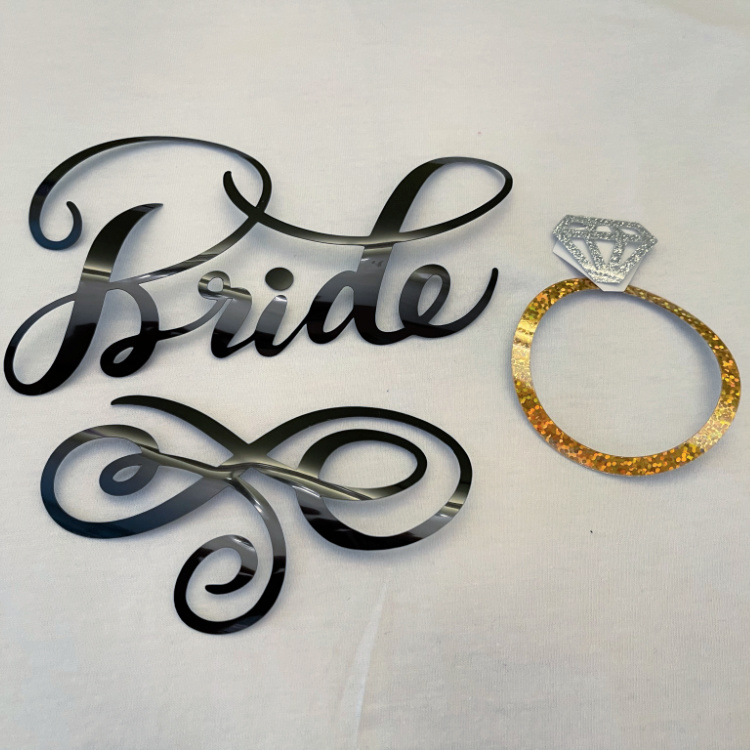
Here are the pieces laid out on the t shirt for placement.

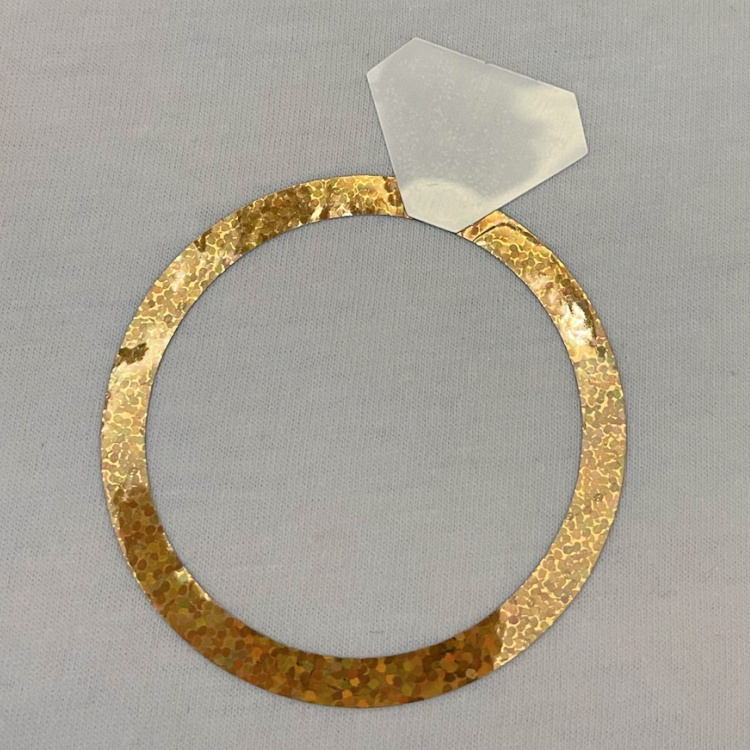
I removed all the pieces from the t shirt except for the gold ring.  I lightly pressed that down at 315 degrees for 30 seconds.  You have to work from the bottom most design piece and build your way up.  I have a Cricut Easy Press and if you don't have one you can use a regular iron.  The wool, silk and polyester settings on a standard iron are at around 300 degrees so if using a regular iron I would just increase the time a little bit.

Once the item was cool to the touch, I peeled off the protective plastic over the design.  Next, I put on the white layer which is the background for the stone.  I again pressed that down at 315 degrees for 30 seconds.  I then removed the  plastic layer from that piece once it was cool to the touch as well.

 Lastly, I applied the top of the diamond stone and adhered that in the same manner.  Once it had cooled to the touch I removed the plastic topping from the stone.

Next, I laid out the bride word and the decorative swirl.  I like to put it where I think I want it to be and lightly press one edge to make sure that it did not move when I adhered the last two pieces.  I pressed the bride and swirl for 30 seconds at 315 degrees and there was some overlap with the ring and it did not cause any issues.  After waiting for it to cool, I peeled the last two plastic protective layers off, flipped the shirt over and pressed the back for 15 seconds.

I find that these t shirts are best cleaned and dried inside out and that they design holds up well. That's it for me today.  Have a great day.

Hugs,

Thursday, May 19, 2022

Box Card Tractor Tutorial

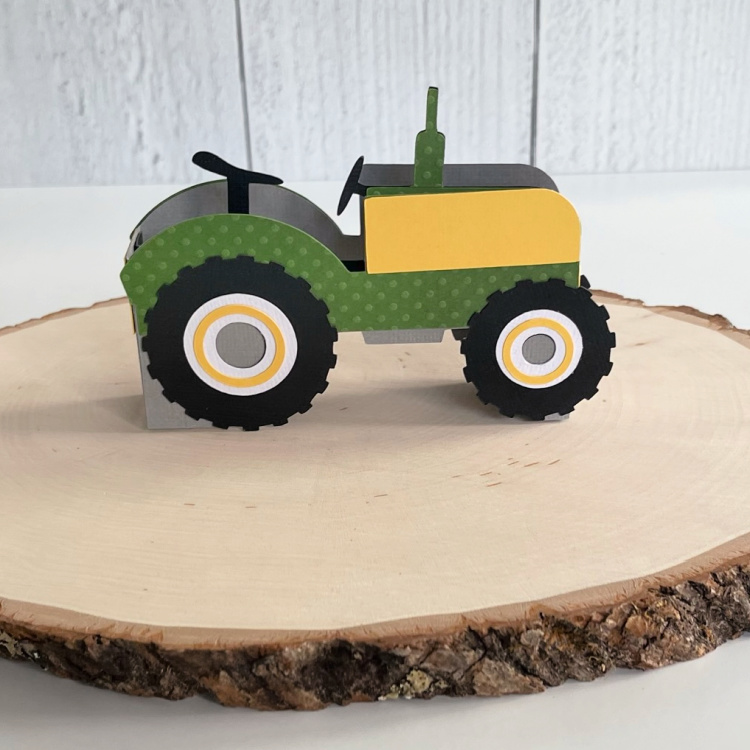
Anita here with a fun card tutorial to put together Lori's Box Card Tractor (SVG, Silhouette).  I made this for my grandson and used John Deere type colors as my inspiration.

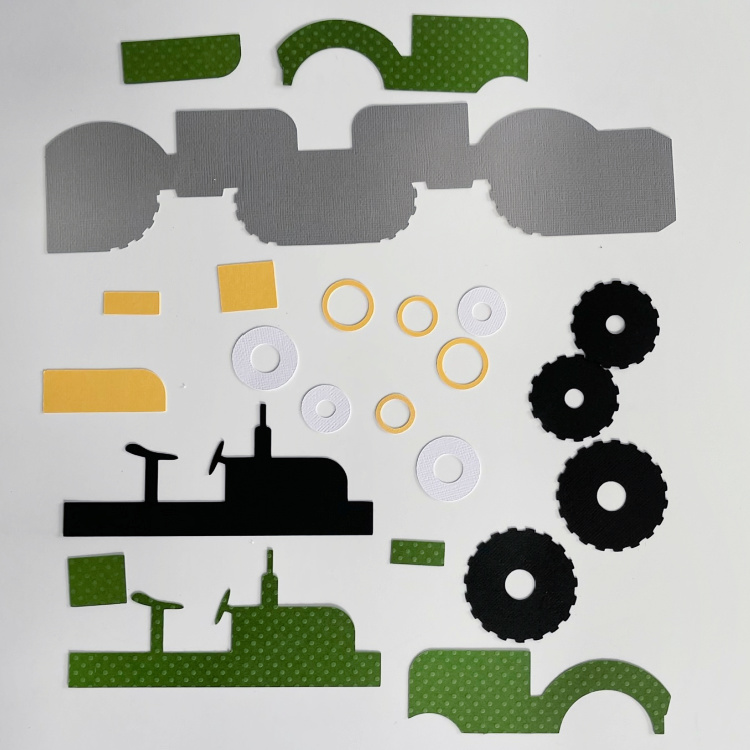
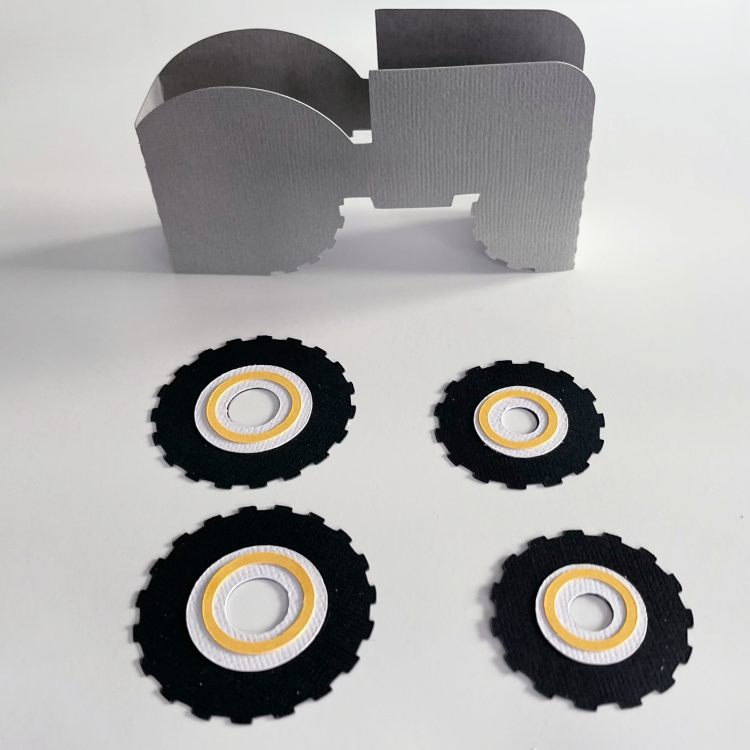
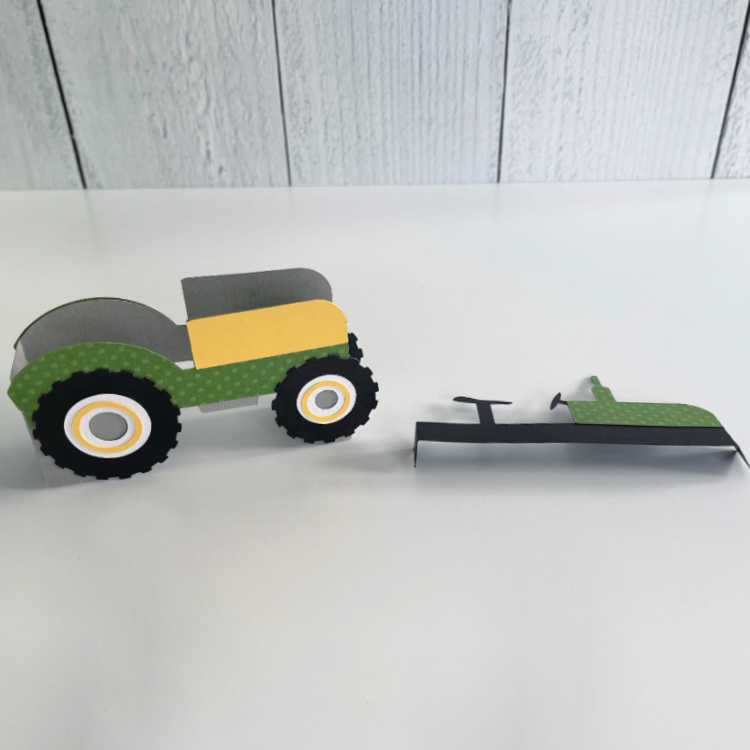
Here are the pieces that I cut.  Because I wanted my tractor to be yellow and green I cut extra pieces of the inner part of the box card with the seat and the engine and also the end covering pieces.  I then trimmed them to fit and glued them on.

 I folded the grey tractor card base on the score lines and glued the tab in place.  I then put the tires together.

This photo shows how I put on the extra piece on the insert that goes in the middle of the card.

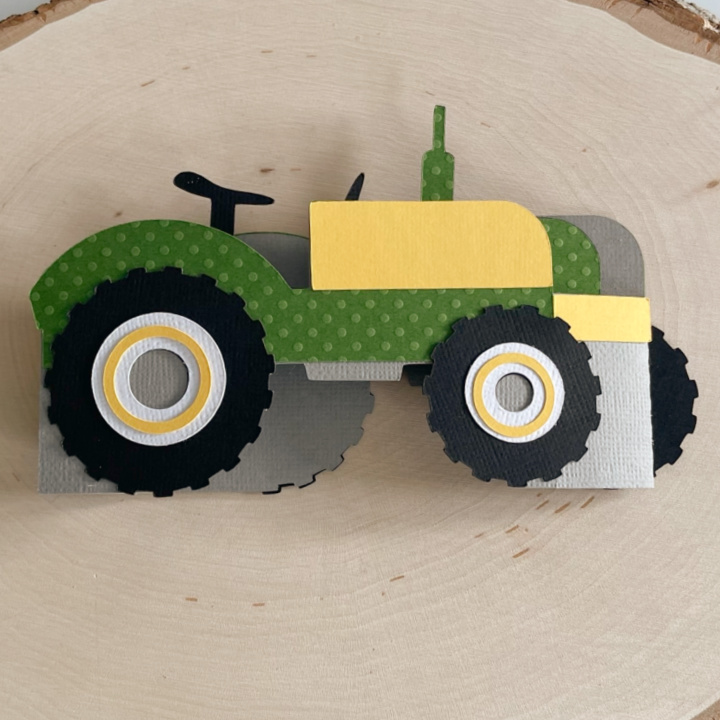
Here is a photo of the card lying flat all ready to be mailed off.  

Thanks for looking and have a great day.

Hugs,